Assembling the chamber
Here is the series of instructions of how to assemble everything. It is best to view the videos in the order they are presented
What you will find from the box
First you will find the pictures, and below that is a video about what you will find from the box.
The box includes:
Chamber body with items attached to the chamber:
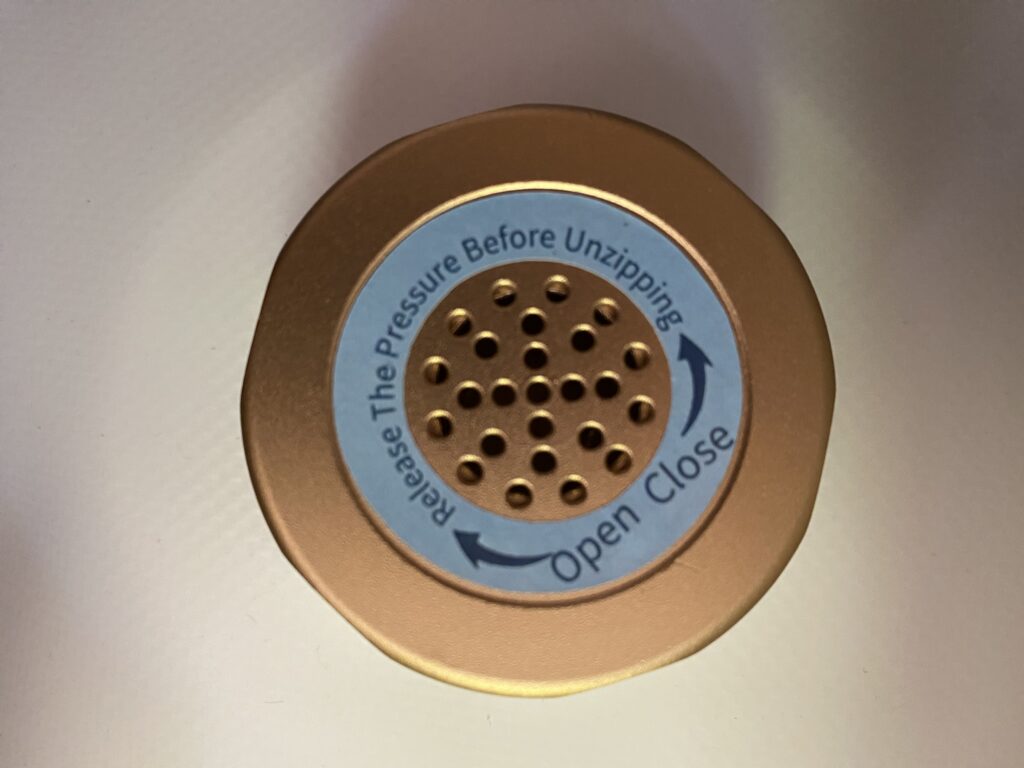
1,5 ATA relief valves

Manual valve
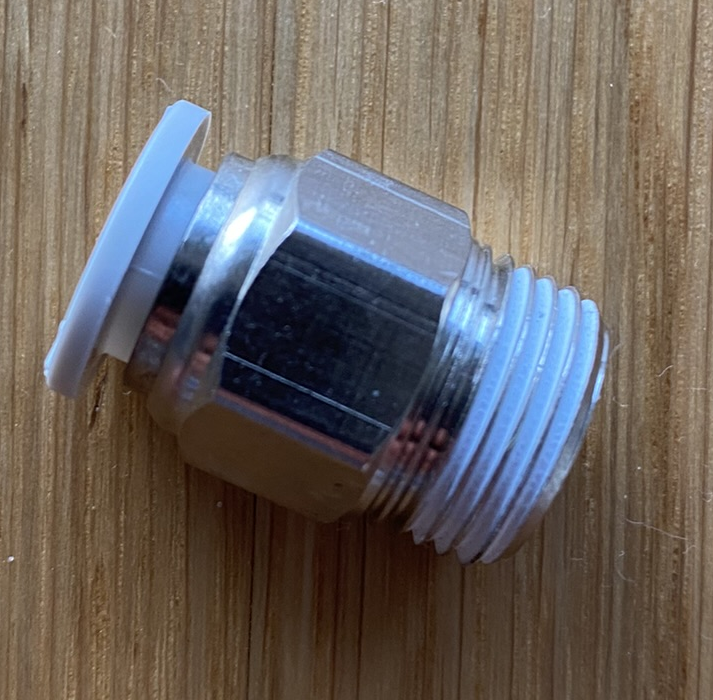
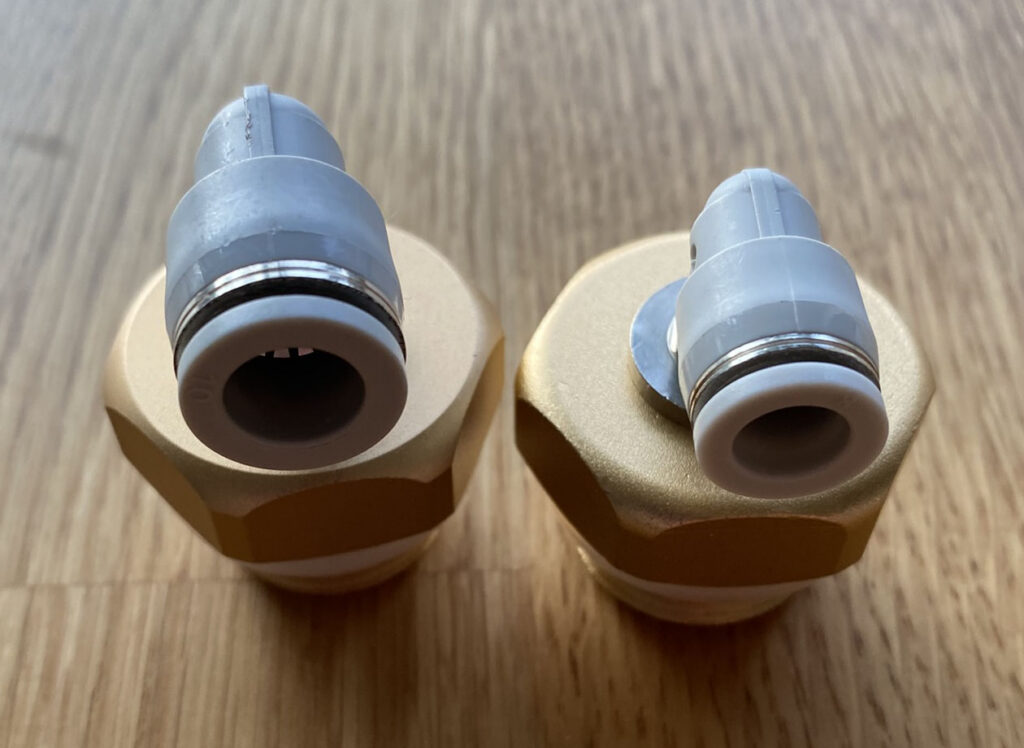
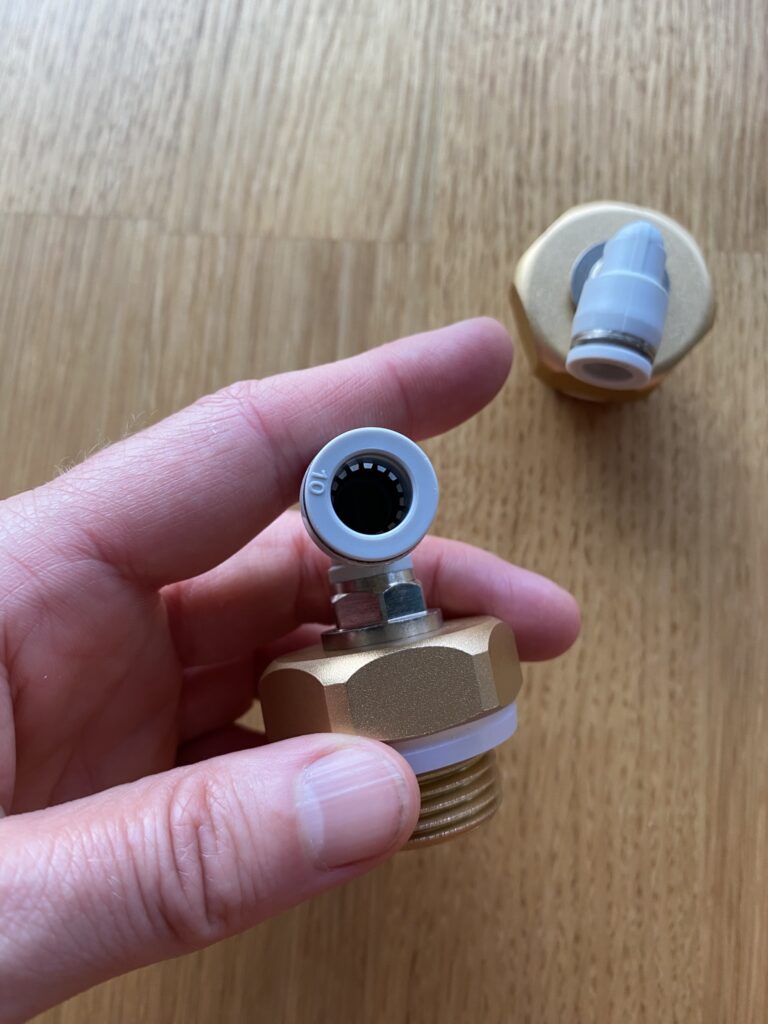
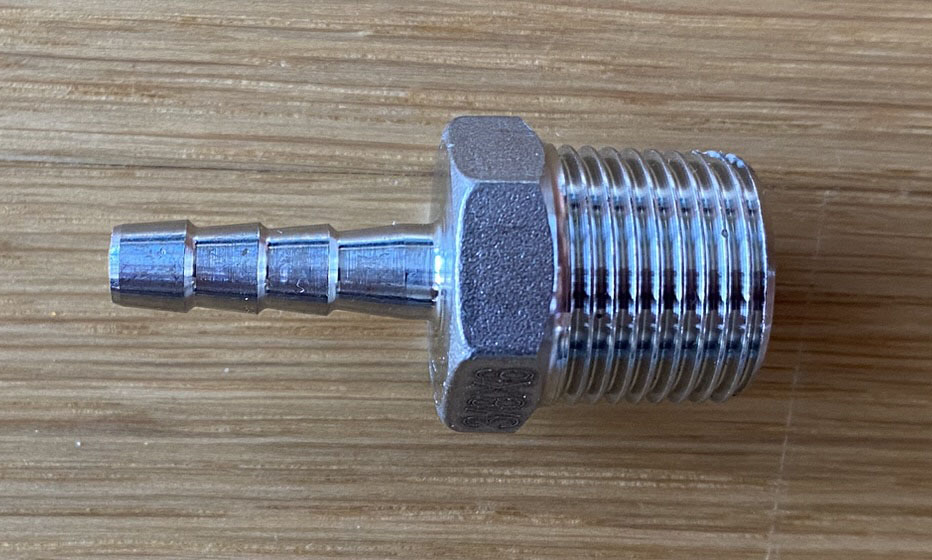
Attached to the air inlet: 10mm inlet plug attached on the outside.

Quick plug attached inside the chamber
2 blank plugs attached to spare port and oxygen inlet
Other items in the box, not attached to the chamber:
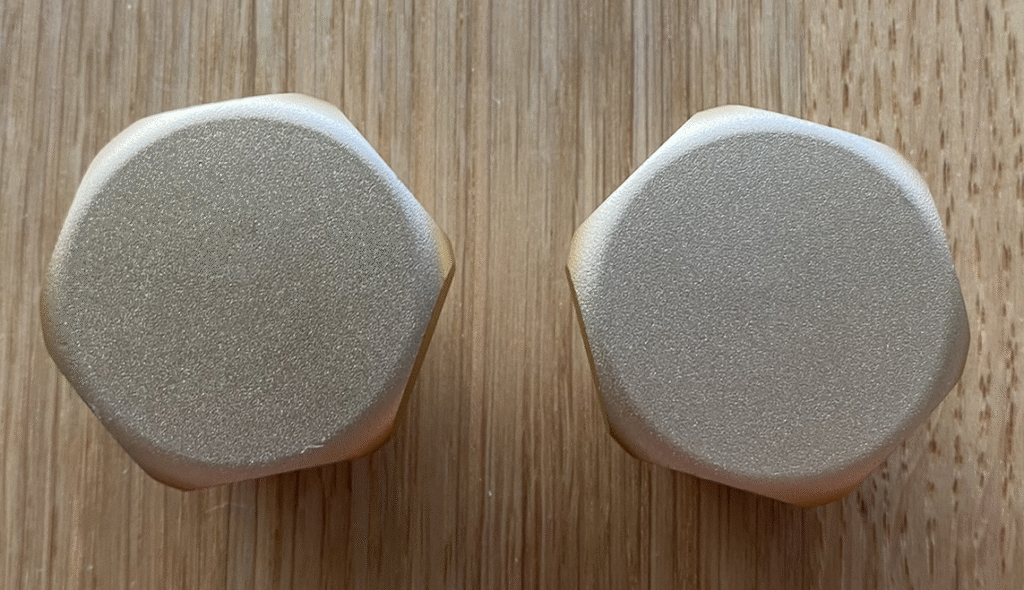
Spare automatic relief valve pairs: 1,3 ATA, 1,1 ATA

Gauges for inside and outside: 60mm WIKA gauge
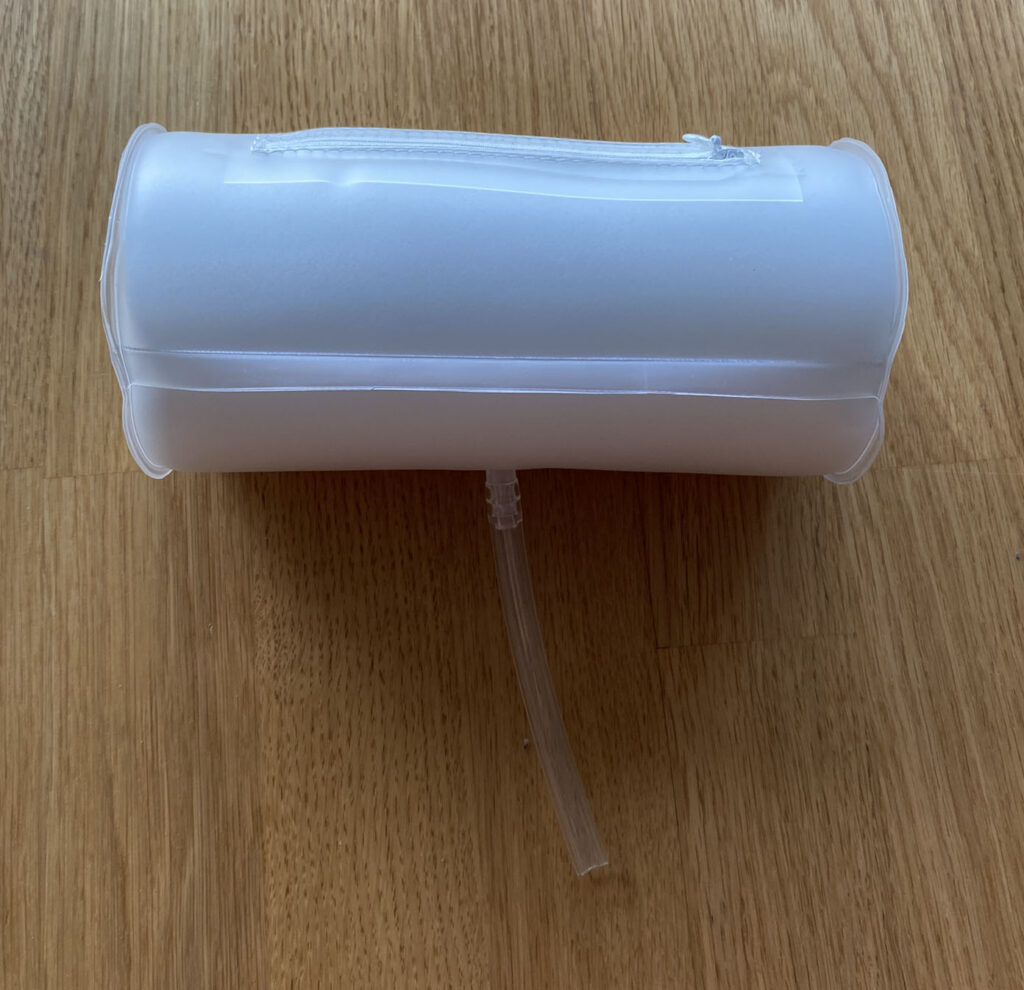
Silencer/muffler
2 spare inlet plugs: 10mm, 8 mm as a spare
3 hoses attached together

2 spare blank plugs
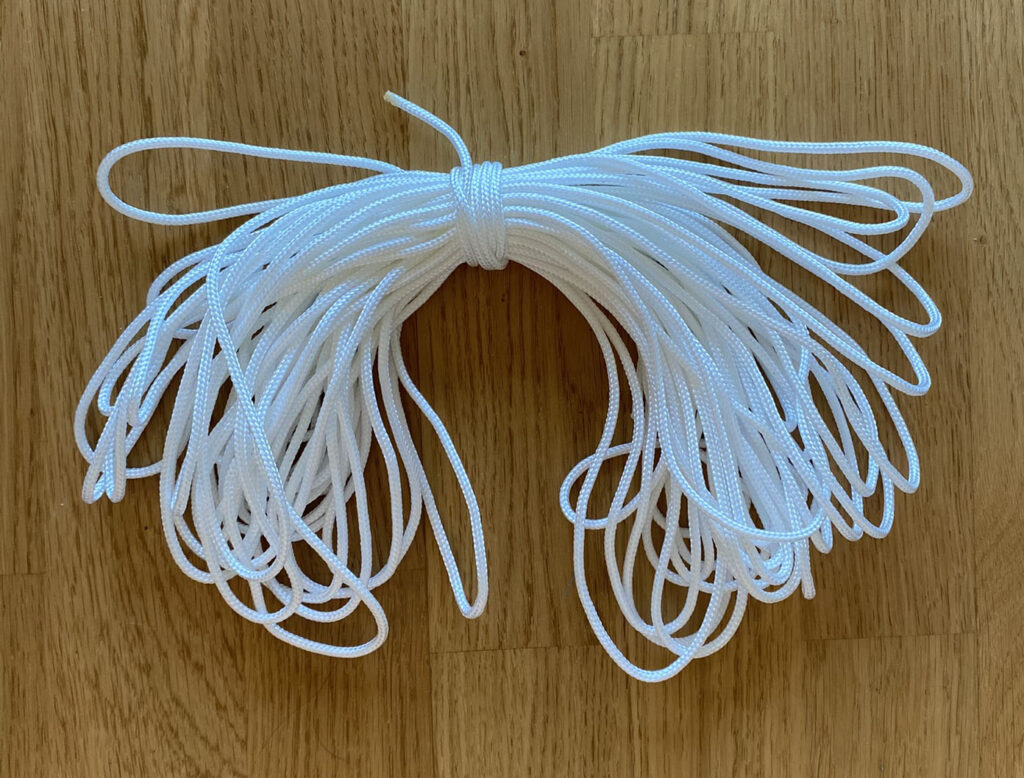
String for attaching the chamber to the ceiling
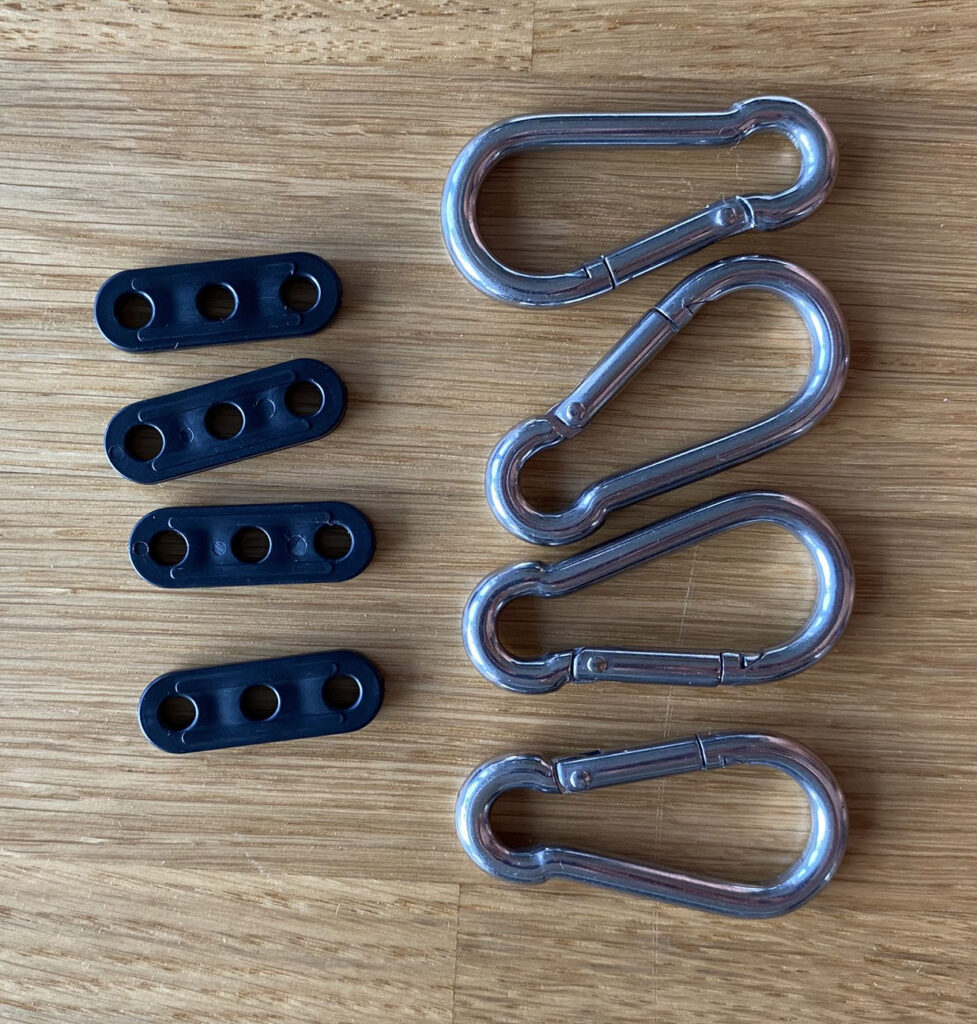
4 length adjusters and carabines
User manual
Oxygen inlet adapter - in case you want to add the oxygen generator. This is used inside the chamber, attached to oxygen inlet, and then you can attach the oxygen mask hose to it
2 strings for zippers

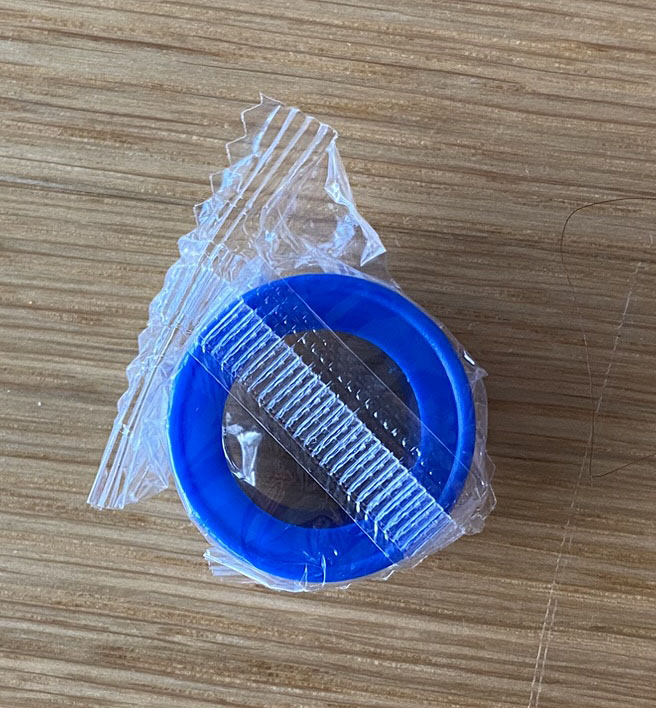
Small roll of sealing tape
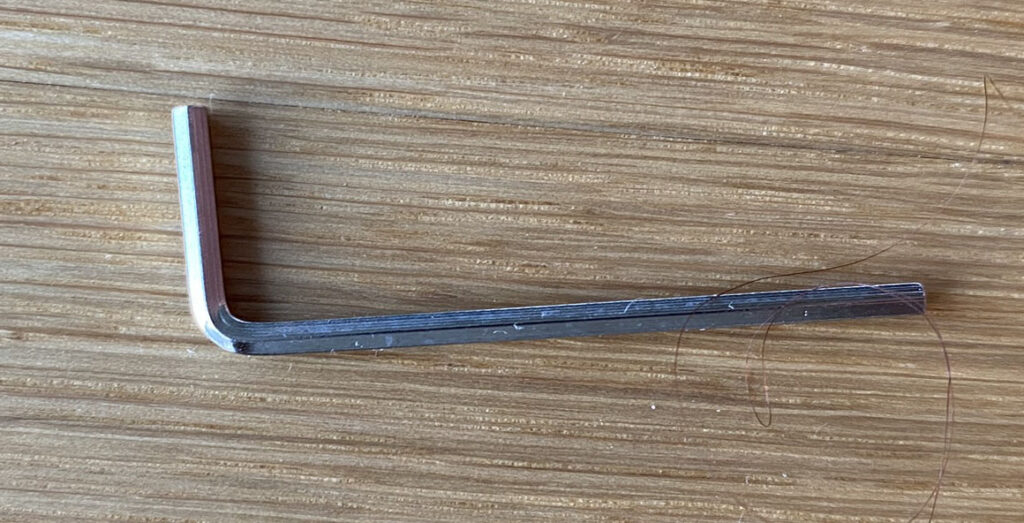
Screw driver (hex) for manual release valve. If you want to change the location of the manual release valve, for example
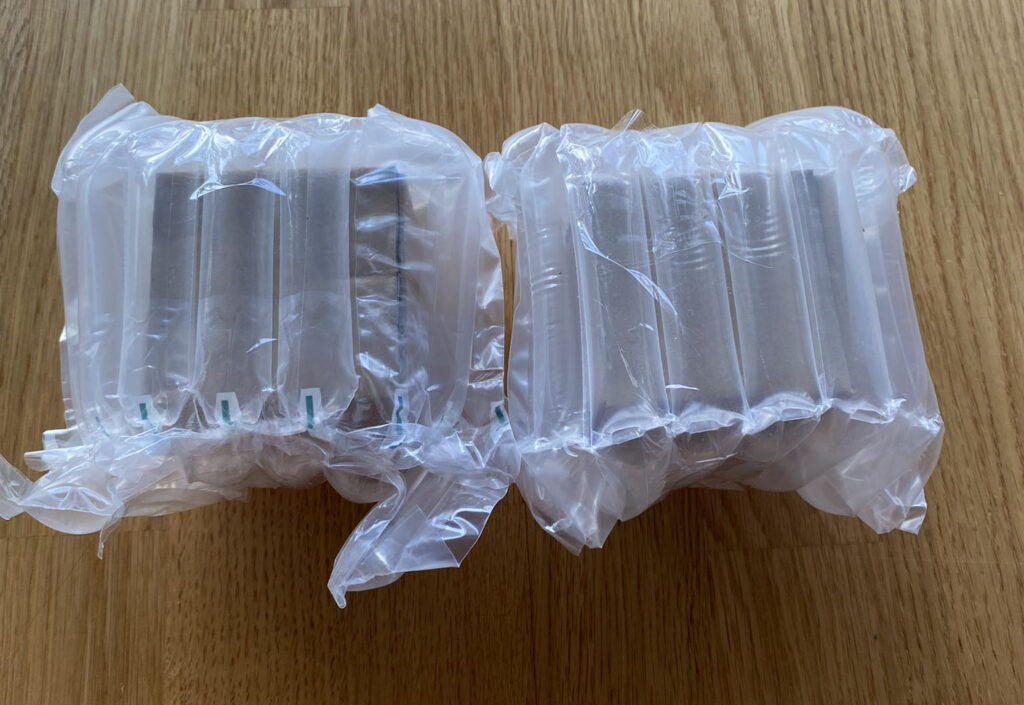
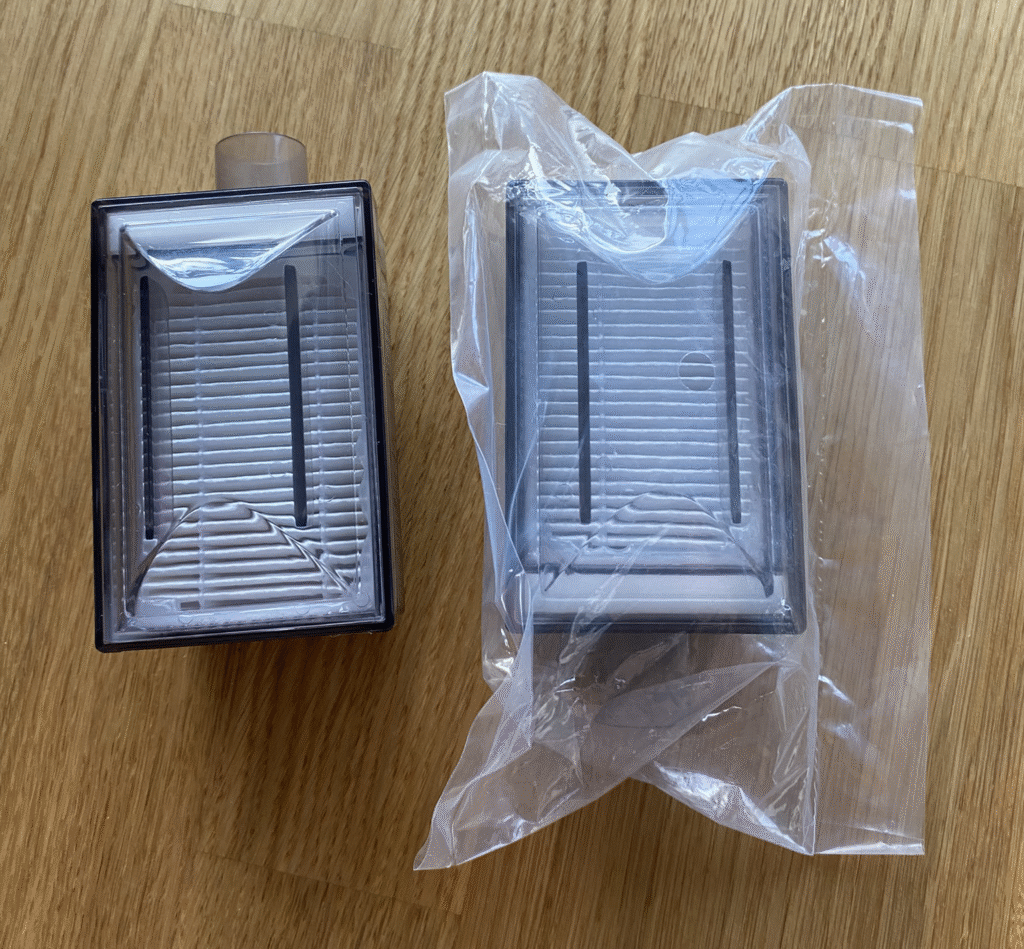
Spare compressor filters
Here is also a video with Rauno explaining what you will find from the box:
Attaching external pressure gauge
In this video there is also instruction how to use the tape.
Attaching internal pressure gauge
Attaching silencer/muffler
Attaching or changing the relief valves
You always have to have the same relief valves on both sides.
Attaching the chamber to the ceiling
Attaching the hose
Checking if you have everything you need on the chamber
Here is a final video that does a check if everything is attached and assembled and ready for use.
Here is a checklist what the chamber has to have:
- Manual valve (already attached)
- External pressure gauge
- Internal pressure gauge
- Automatic relief valves (same on both sides)
- Air inlet and hose connected to it
- 2 plugs (already attached)
- Hose connected to the compressor
- Compressor cable plugged in
And you are ready to go!
Changing the filter on the compressor
This is for future, when you need to change the filters. It is recommended to exchange the filters after 500 working hours or once a year.'
How to use the hyperbaric chamber
Here is an instruction how to use the chamber. You are also always welcome to ask additional questions from us and we can also make a video call!
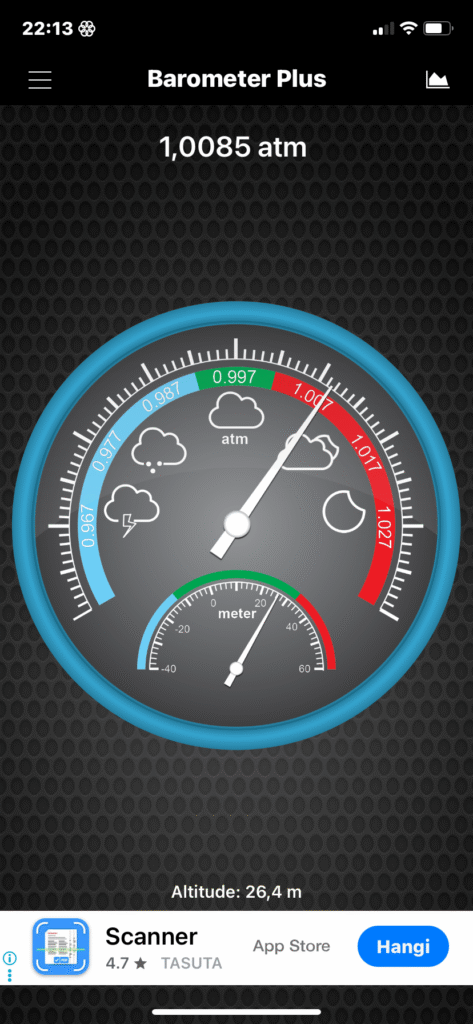
Useful tip: use Barometer Plus app
You can use Barometer Plus app to measure the exact pressure with your phone.
This app helps to measure the pressure more precisely and is easy to use. It works on all the newer phones that have pressure sensories.
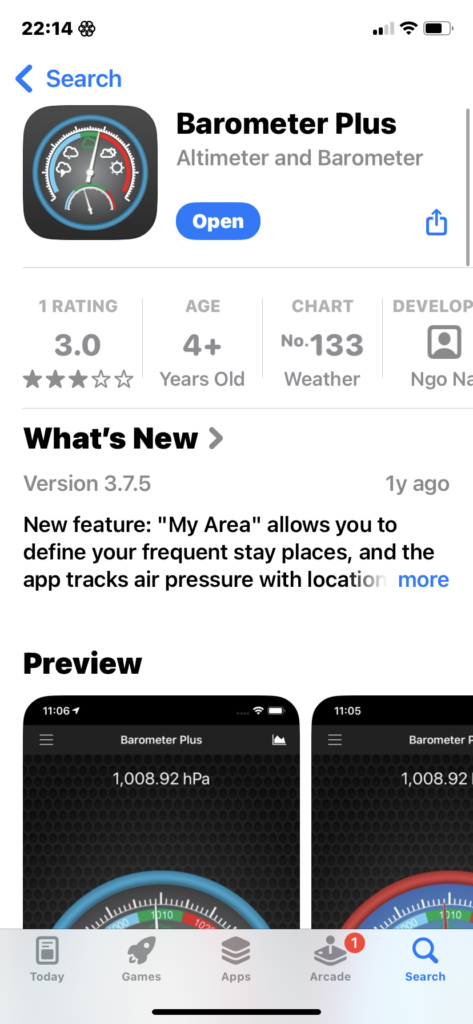
- Download the app
- Change the measurement unit to ATM (it´s basically same as ATA)
Keep in mind that the the chamber actually raises pressure relative to the air pressure. So when the starting air pressure is lower than 1 ATM then the end pressure with 1,3 ATA relief valves is also lower than 1,3 ATA. Also the relief valves have +/- 0,02 ATA range of preciseness.